When and How to Stain a Pressure Treated Wood Fence in Cleveland
A new pressure treated wood fence looks done the day the crew drives the last screw, but it is not. The treatment chemicals that protect the pine from rot and insects do nothing against sun and water. Staining is the step that decides whether your fence looks solid at year ten or starts graying, cracking, and cupping by year three. Timing matters more than product choice, and in Cleveland, our seasons set that timing for you. Knowing when to stain a fence is the key to protecting your investment.
This guide walks you through the whole process in order: when to stain, how to test readiness, what to buy, and how to apply it so the work holds up through freeze-thaw winters and humid summers.
If your old fence just came down in a storm and a new treated lumber fence is going up, this is also the moment to get staining right from day one instead of patching a graying fence every few years like the last one.
Step 1: Wait Until the Wood Is Actually Dry
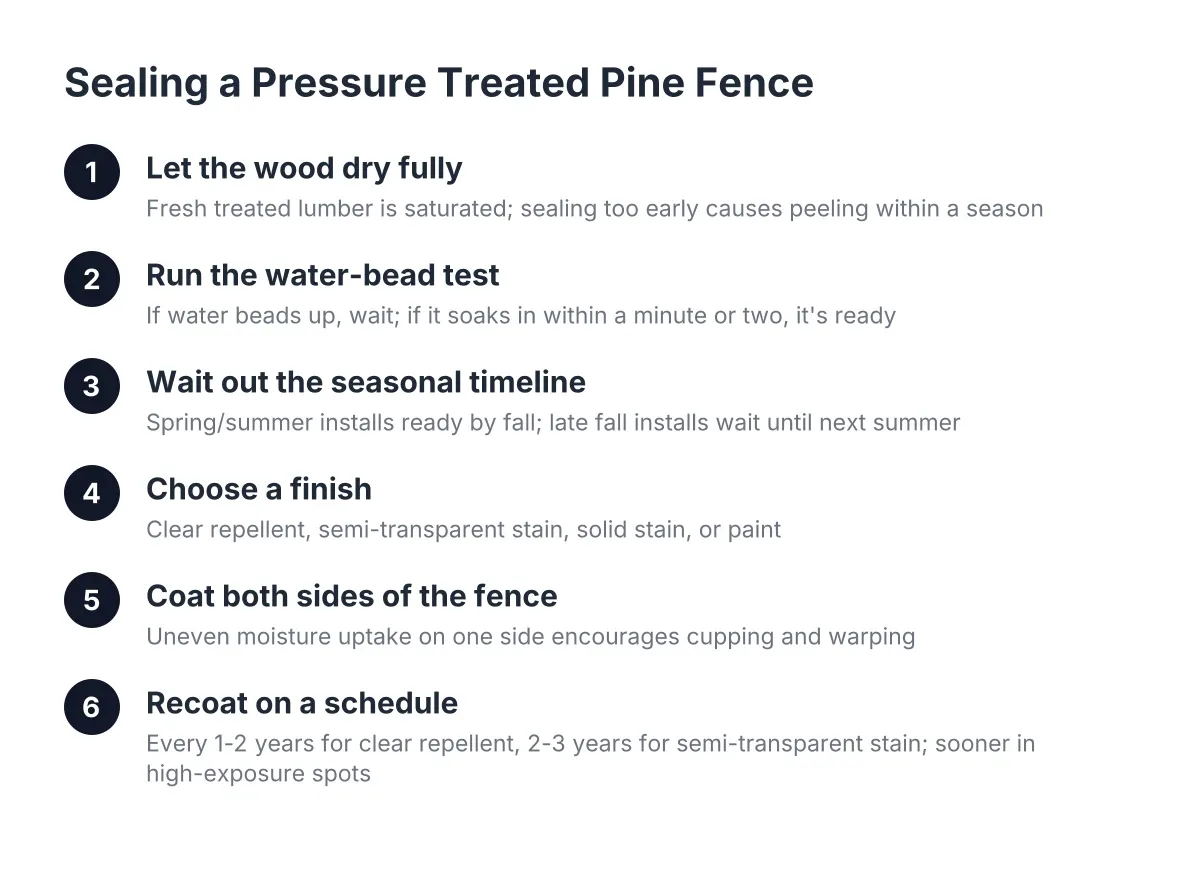
Do not stain a new pressure treated fence right away. Pressure treatment forces preservative deep into the lumber, which means the boards often arrive saturated and can stay wet for months after installation. Stain applied to wet wood will not soak in. It sits on the surface, dries blotchy, and peels within a season.
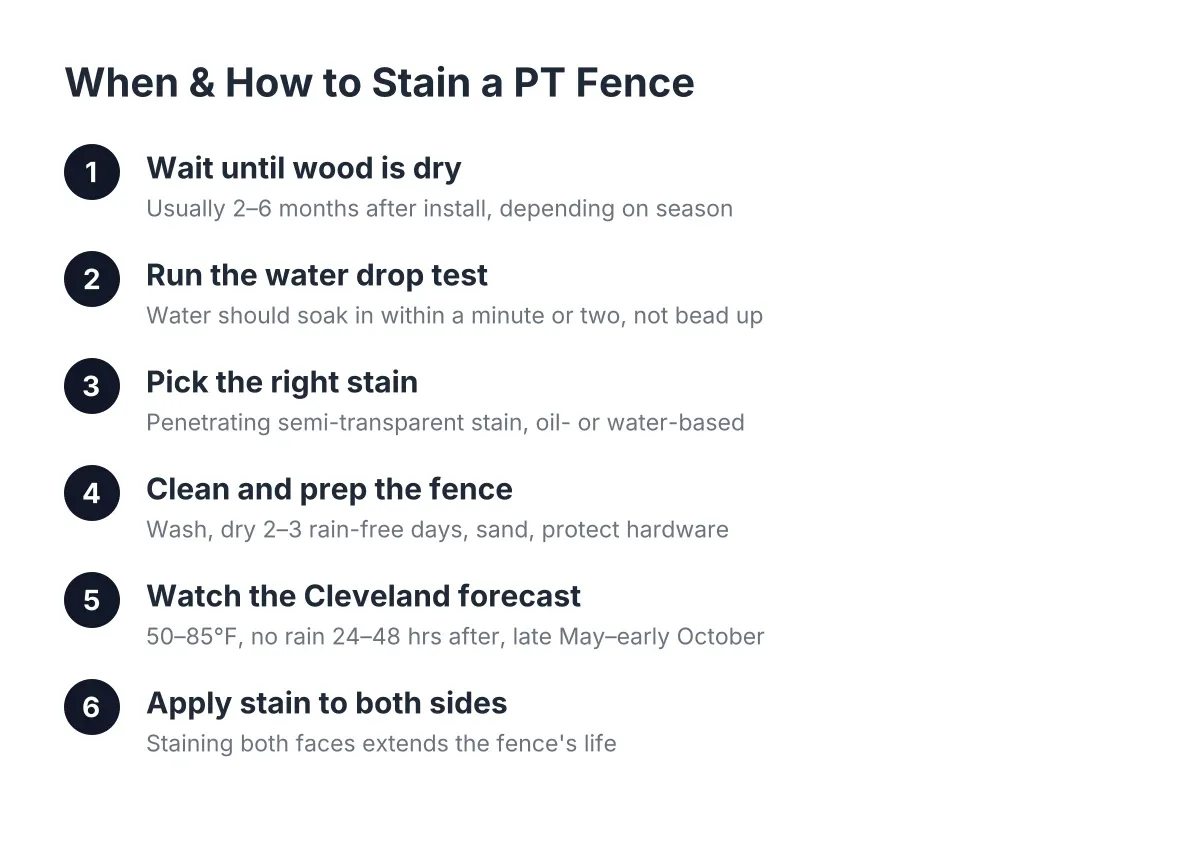
In Cleveland, the practical wait is usually two to six months depending on when the fence went in. A fence installed in May be ready by late summer. A fence installed in October probably needs to wait until the following spring, because cold, damp winter air slows drying to a crawl.
However, do not wait too long either. Once the wood dries out, every month of bare exposure lets UV light break down the surface fibers. Gray, weathered wood needs cleaning or light sanding before stain will bond. The sweet spot is staining as soon as the wood passes the dryness test below.
Step 2: Run the Water Drop Test
The water drop test tells you whether a pressure treated wood fence is ready for stain. Sprinkle a few drops of water on several pickets and a post. If the water beads up and sits on the surface, the wood is still too wet inside; wait a few more weeks and test again. If the water soaks in within a minute or two, the wood is ready to accept stain.
Test in more than one spot. Posts are thicker than pickets and hold moisture longer, and boards on the shaded north side of the fence dry slower than boards facing south. The fence is ready when every area you test absorbs water.
For example, say a homeowner in Parma replaced a rotted fence in June after years of patching leaning sections. In that scenario, the pickets might pass the water test by September while the 4×4 posts still bead water. The right move is to wait until the posts pass too, then stain everything in one weekend.
Step 3: Pick the Right Stain for Treated Pine
For pressure treated pine, a penetrating semi-transparent stain is the workhorse choice. It soaks into the wood, repels water, blocks UV, and lets the grain show through. Avoid film-forming products like paint or solid stain on a new fence; films trap moisture in wood that is still drying and peel badly.
Here is how the two main stain bases compare:
- Oil-based stain: penetrates deeper, which suits pressure treated pine and older, weathered fences. It takes longer to dry and has stronger fumes, but it tends to wear by fading rather than peeling.
- Water-based stain: dries faster, has lower VOCs, and cleans up with soap and water. It is easier for a first-time DIY job but may not penetrate dense or damp spots as well.
Either works on a pressure treated pine fence if the wood is dry. If your fence sat bare for a year or more and has weathered gray, lean toward oil-based after a good cleaning, since it bites into aged wood better.
On color, semi-transparent tones in cedar, brown, or honey hide the greenish tint of fresh treated lumber and mask minor weathering between recoats. Clear sealers look good for a season but offer the least UV protection, so expect to recoat them more often.
Step 4: Clean and Prep the Fence
Stain only bonds to clean, sound wood. Before you open a can, prep the fence:
- Sweep off dirt, cobwebs, and grass clippings along the bottom rail.
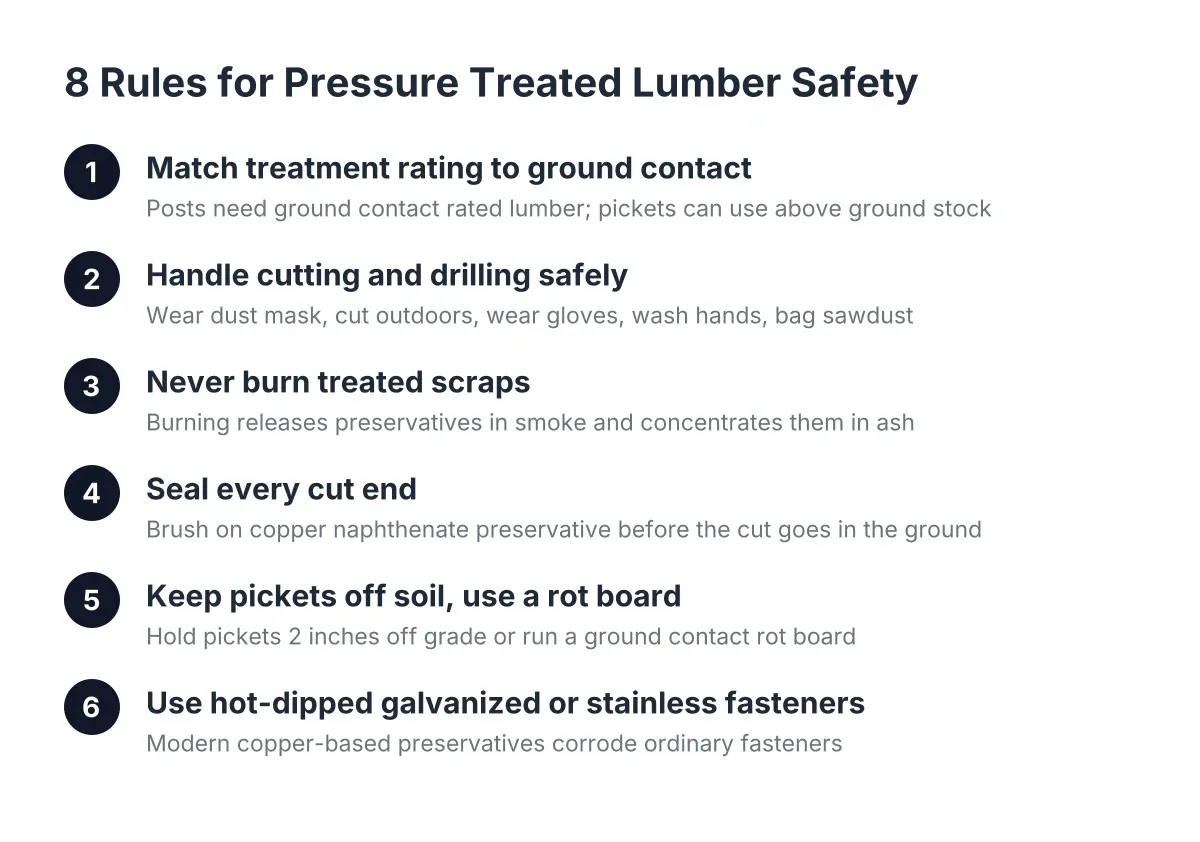
- Wash the fence with a wood cleaner or a deck brightener, scrubbing with a stiff brush. A pressure washer on a low setting works, but keep the tip moving; high pressure gouges soft pine.
- Let the fence dry two to three rain-free days after washing.
- Sand any fuzzy or splintered spots, and set any nail or screw heads that have backed out.
- Tape off or cover gate hardware, latches, and hinges, especially on a self-latching pool gate where stain buildup can gum up the mechanism.
If your fence encloses a pool or play yard, check the gate operation before and after staining. A latch that sticks because of stain overspray is a safety problem, not just an annoyance.
Step 5: Watch the Cleveland Forecast Before You Start
Staining weather in Northeast Ohio is a narrow window, so plan around it. You want surface temperatures between about 50 and 85 degrees, no rain for 24 to 48 hours after application, and low to moderate humidity. That usually means late May through early October, with September often the most forgiving month: warm days, cooler nights, and less of the July humidity that slows drying.
Avoid staining in direct midday sun. Hot boards flash-dry the stain before it penetrates, leaving lap marks. Work the shaded side of the fence first, or stain in the morning and evening.
Skip the job entirely once overnight temperatures drop near freezing. Stain that goes on in late October rarely cures right, and the first freeze-thaw cycle undoes the work.
Step 6: Apply Stain to Both Sides of the Pressure Treated Wood Fence
Staining both faces of the fence, not just the side you see, meaningfully extends its life. Water that soaks into the bare back side still drives cupping, cracking, and rot, and in a replacement situation that is often exactly how the old fence failed. If the back side faces a neighbor, it is worth a conversation; both yards benefit.
Work in this order:
- Posts first, top to bottom, with extra attention at the ground line where water sits.
- Rails next, including the top edge of the top rail, which takes the most sun and snow.
- Pickets last, working two or three boards at a time from top to bottom to avoid lap marks.
- Back-brush after spraying or rolling so the stain works into the grain instead of sitting on top.
- Hit all end grain twice: picket tops, rail ends, and post tops drink stain and fail first if skipped.
One coat of penetrating stain is standard on new treated pine. A second coat only helps if the first soaks in fully; stain pooling on the surface will stay tacky and collect dirt.
Step 7: Set a Recoat Schedule That Survives Ohio Winters
Plan to recoat a stained pressure treated wood fence every two to four years in the Cleveland climate. Snow sitting against the bottom rail, spring thaw moisture, and summer UV all wear the finish faster here than in milder regions. Run the water drop test each spring: if water stops beading on the surface, the stain has worn through and it is time to recoat.
In addition, walk the fence line every spring and check the things stain cannot fix:
- Posts that move when you push them, since posts commonly rot at or below grade even when the boards above look maintained.
- Pickets pulling away from rails after frost heave over the winter.
- Soil or mulch piled against the bottom of the boards, which wicks moisture up into the wood.
- Gate sag and latch alignment, which matters most on pool and play-yard enclosures.
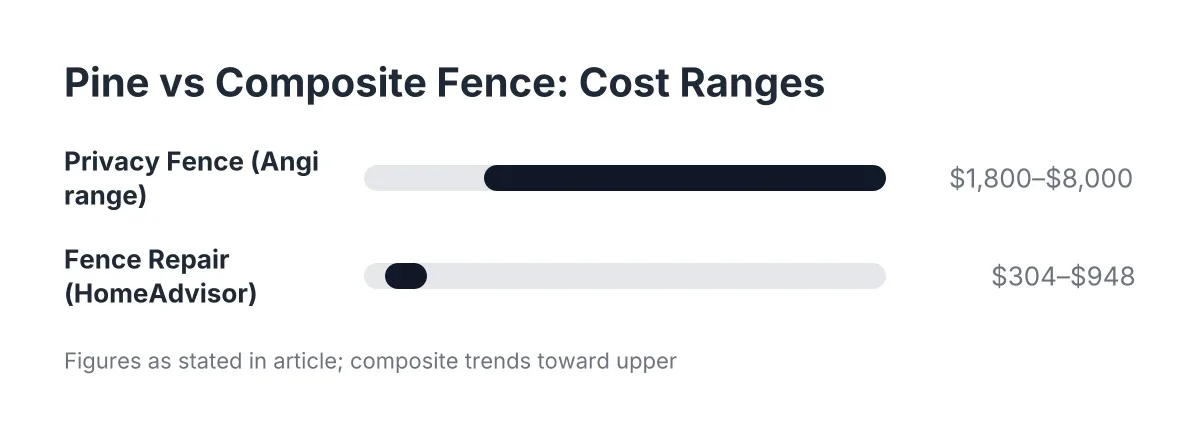
Catching a loose post early is the difference between a small fence repair and another section on the ground after the next windstorm. For context, Angi's 2026 data puts the national average fence repair at $618 per project, which is a lot cheaper than replacing sections that rotted out unnoticed.
When Staining Is Not Enough
Stain protects good wood; it does not rescue bad wood. If more than a few posts are soft at the ground line, if sections lean, or if the boards crumble when you sand them, you are past the point where a weekend with a sprayer helps. That is a repair-versus-replacement question, and it is worth getting a professional opinion before spending money on stain for a fence that needs structural work.
The same goes for the permit question. Staining an existing fence does not require a fence permit, but if your project turns into fence replacement, a new footprint, or a new height, check with your local building department first. Permit rules vary across Greater Cleveland's suburbs and the city's older inner-ring neighborhoods, so verify before you build rather than after.
Get the timing right, stain both sides, and recoat on schedule. Do that, and a pressure treated pine fence in Cleveland can stay straight and solid for a decade or more instead of becoming the gray, leaning fence you just tore out.
If you need fence installation, Cleveland Fence Installers can help.
Prefer to talk it through? Call (216) 465-0485 — a quick call is usually the fastest way to get a straight answer for your situation.